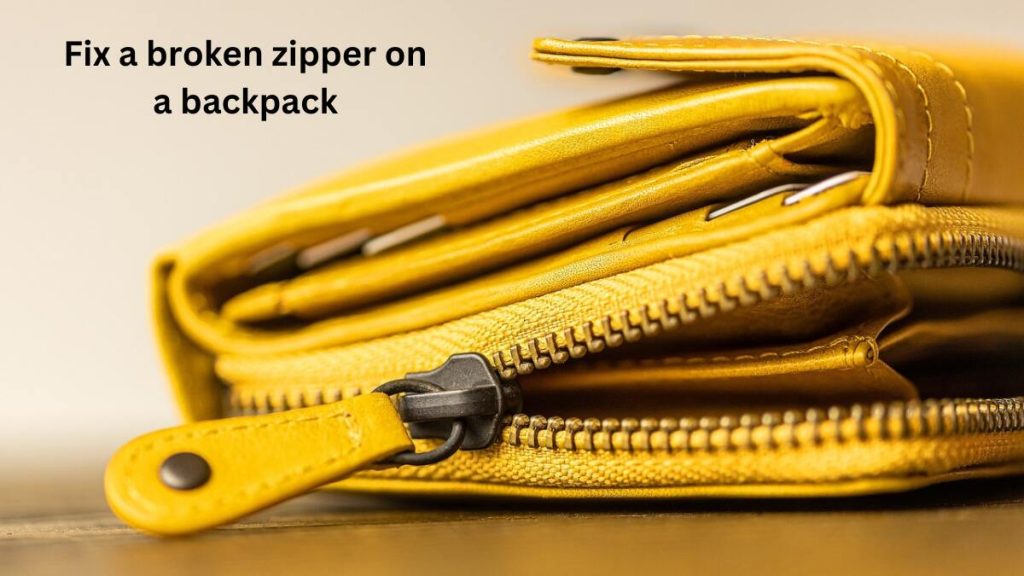
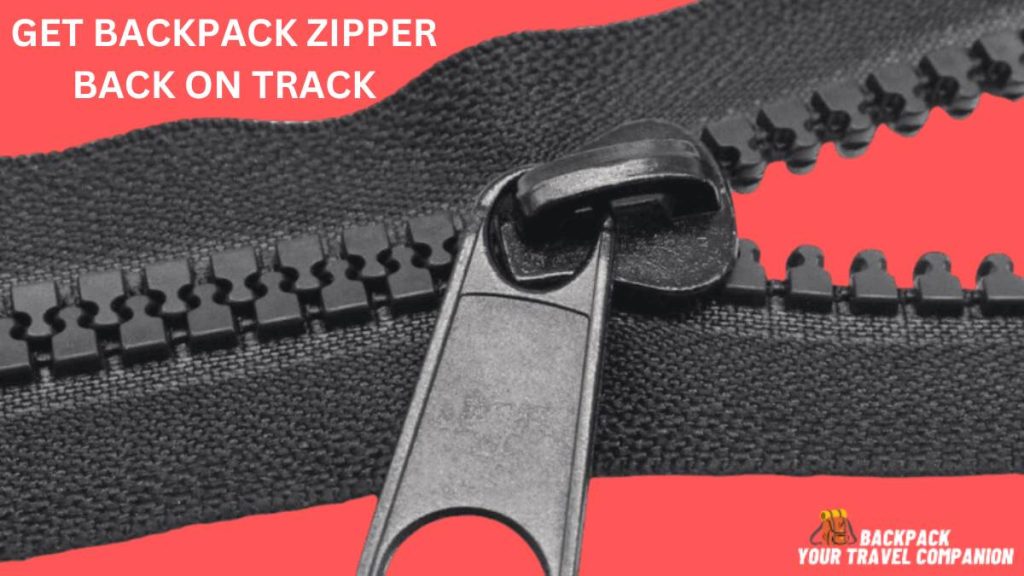
When it comes to backpacks, a broken zipper can be quite frustrating. It not only hinders access to your belongings but also affects the overall functionality and lifespan of your backpack. However, repairing a broken zipper is not as daunting as it may seem. In this article, we will provide you with a step-by-step guide on how to fix a broken zipper on a backpack, covering various zipper problems and their solutions. So, let’s dive in and learn how to restore your backpack’s zipper to its full functionality.
Understanding Zipper Mechanics
Before we delve into the troubleshooting and repair methods, it’s essential to understand the mechanics of a zipper. A zipper consists of two strips of fabric with interlocking metal or plastic teeth. These teeth are attached to a slider, which moves up and down the zipper to open or close it. Additionally, the zipper pull tab is used to manipulate the slider.
how to fix a broken zipper on a backpack
1. Common Zipper Problems
Zipper Jamming
Zipper jamming is a common issue that occurs when the slider gets stuck, making it difficult to open or close the zipper smoothly. This problem can be caused by dirt, debris, or fabric getting caught in the zipper mechanism.
Zipper Teeth Misalignment
Misaligned zipper teeth prevent the zipper from properly interlocking, resulting in a malfunctioning zipper. This misalignment can occur due to rough handling, excessive force, or fabric getting stuck between the teeth.
Zipper Slider Issues
Slider issues can include a broken slider, a loose slider, or a slider that does not move smoothly along the zipper. These problems can occur due to wear and tear, damage to the slider itself, or accumulation of dirt and debris.
Zipper Teeth Separation
Zipper teeth separation refers to the situation where the teeth do not interlock properly, causing the zipper to open unexpectedly. This issue can make it impossible to zip up the backpack securely.
Zipper Pull Tab Breakage
The pull tab is the small piece attached to the slider that allows you to open and close the zipper. If the pull tab breaks or becomes detached from the slider, it becomes challenging to operate the zipper effectively.
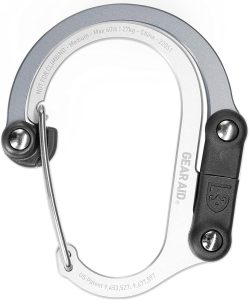
HEROCLIP Carabiner Clip and Hook
2. Assessing the Zipper Damage
Before proceeding with the repair, it is crucial to assess the extent of the zipper damage. This evaluation will help determine the appropriate repair method or whether the zipper needs to be replaced entirely.
Identifying the Problem Area
Inspect the zipper carefully to identify the specific area where the problem lies. Is it the slider, the teeth, or the fabric itself? This initial assessment will guide you in choosing the right repair approach.
Checking for Zipper Fabric Damage
Check the zipper fabric for any signs of damage, such as fraying or tearing. If the fabric is severely damaged, repairing the zipper may not be possible, and replacing it might be the best solution.
3. Tools and Materials Required
To fix a broken zipper on a backpack, you will need the following tools and materials:
- Pencil or graphite powder
- Lubricant (e.g., silicone spray, beeswax, or soap)
- Pair of pliers
- Needle and thread
- Replacement zipper (if necessary)
- Paperclip or keyring
- Sewing kit
Now that we have an overview of the common zipper problems and the tools required, let’s dive into the step-by-step repair process.
4. Fixing a Jammed Zipper : fix a broken zipper on a backpack
If your zipper is jammed, there are several methods you can try to fix it. Here are four possible solutions:
Using a Pencil or Graphite Powder
To start, grab a pencil with a soft graphite core or some graphite powder. Rub the pencil tip or apply the graphite powder along both sides of the zipper teeth. The graphite acts as a dry lubricant, reducing friction and allowing the zipper to slide more easily. After applying the graphite, gently move the slider up and down the zipper to distribute the lubricant evenly.
Applying Lubricant
If the pencil or graphite powder method doesn’t work, you can try using a lubricant. Silicone spray, beeswax, or even a small amount of soap can be effective lubricants. Apply a small amount of lubricant along both sides of the zipper, ensuring that the teeth are well-coated. Then, work the slider up and down to help spread the lubricant and loosen any obstructions.
Using a Pair of Pliers
If the zipper remains stuck, you can attempt to free it using a pair of pliers. Gently grip the slider with the pliers, being careful not to apply too much pressure. Slowly and carefully wiggle and pull the slider in the direction that opens the zipper. This method can help dislodge any small obstructions or misalignments that are causing the jam.
Realigning the Zipper Teeth
If the above methods don’t solve the problem, it’s possible that the zipper teeth have become misaligned. In this case, you’ll need to realign them. Start by fully closing the zipper. Then, using your fingers or a pair of pliers, gently push the teeth of the zipper back into alignment. Work your way up the zipper, ensuring that the teeth are interlocked properly. Once the teeth are realigned, try opening and closing the zipper to see if it moves smoothly.
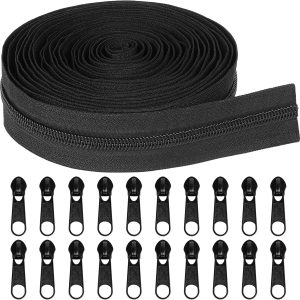
5Yards Bulk Zipper, (#5) Zippers for Sewing
Remember to exercise caution and patience when attempting to fix a jammed zipper. Applying excessive force or rough handling can further damage the zipper or the fabric surrounding it. If none of these methods work, it may be necessary to seek professional help or consider replacing the zipper altogether.
5. Repairing Misaligned Zipper Teeth
If your zipper has misaligned teeth, it can prevent smooth zipping and unzipping of your backpack. Here are two methods you can try to repair misaligned zipper teeth:
Realignment Using Pliers
To realign misaligned zipper teeth, you’ll need a pair of pliers. Follow these steps:
- Close the zipper completely to ensure you have a clear view of the misaligned teeth.
- Use your fingers or the pliers to gently grasp the teeth that are misaligned.
- Apply gentle pressure to push the teeth back into their correct position, aligning them with the corresponding teeth on the opposite side of the zipper.
- Work your way up or down the zipper, ensuring that all the teeth are properly aligned.
- Once the teeth are aligned, test the zipper by opening and closing it to check if it moves smoothly.
Replacing the Damaged Teeth
If the zipper teeth are damaged or beyond repair, replacing them might be necessary. Follow these steps:
- Locate the damaged teeth on the zipper.
- Using a pair of small scissors or a seam ripper, carefully remove the stitching holding the damaged teeth in place.
- Once the stitching is removed, you can slide the damaged teeth off the zipper tape.
- Prepare replacement teeth that match the size and style of the original teeth. These replacement teeth can be obtained from a sewing or craft store.
- Slide the replacement teeth onto the zipper tape, making sure they are aligned properly.
- Use a needle and thread to sew the replacement teeth securely onto the zipper tape. Make small, neat stitches to ensure a strong attachment.
- Test the zipper by opening and closing it to ensure the replaced teeth function properly.
By realigning or replacing the damaged teeth, you can restore the functionality of the zipper and ensure smooth operation for your backpack.
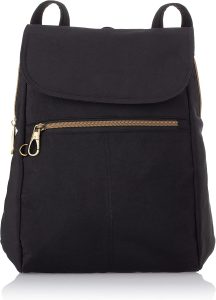
Travelon Anti-theft Signature Slim Backpack
6. Addressing Zipper Slider Issues
When your backpack’s zipper slider is not functioning properly, it can hinder the smooth opening and closing of the zipper. Here are two methods to address zipper slider issues:
Cleaning the Zipper Slider
Sometimes, a malfunctioning zipper slider can be due to dirt, debris, or residue buildup. Cleaning the zipper slider can help restore its functionality. Follow these steps to clean the zipper slider:
- Use a soft brush or toothbrush to gently remove any visible dirt or debris from the slider.
- If the slider is sticky or has residue, dampen a cloth or cotton swab with a mild detergent or rubbing alcohol.
- Gently rub the cloth or cotton swab along the inside and outside of the slider to remove any sticky residue.
- Wipe the slider with a clean, damp cloth to remove any remaining cleaning solution.
- Dry the slider thoroughly before attempting to use it.
Cleaning the zipper slider can often solve minor issues and improve its movement along the zipper.
Replacing the Zipper Slider
If cleaning the zipper slider doesn’t resolve the problem, it may be necessary to replace it. Here’s how to replace a faulty zipper slider:
- Locate the metal or fabric stop at the bottom end of the zipper tape.
- Use a pair of small scissors or a seam ripper to carefully remove the stitching holding the stop in place.
- Slide the old zipper slider off the zipper tape by moving it towards the open end of the zipper.
- Take a new zipper slider that matches the size and style of the original one.
- Insert the open end of the zipper tape into the new slider.
- Hold both sides of the new slider and slide it up the zipper tape, ensuring the teeth are properly aligned.
- Once the new slider is in place, reattach the metal or fabric stop at the bottom end of the zipper tape using a needle and thread.
Replacing the zipper slider can provide a solution if the original slider is damaged, worn out, or beyond repair.
7. Fixing Zipper Teeth Separation
When the teeth of a zipper do not interlock properly, it can lead to zipper teeth separation, making it difficult to secure your backpack. Here are two methods you can try to fix zipper teeth separation:
Repairing with Needle and Thread
If the zipper teeth are not severely damaged, you can attempt to repair the separation using a needle and thread. Follow these steps:
- Fully close the zipper to have a clear view of the separated teeth.
- Thread a needle with a strong and matching color thread.
- Starting at the bottom of the separated teeth, insert the needle through the fabric near the first intact tooth.
- Sew a few stitches around the fabric, securing the thread to prevent it from unraveling.
- Move the needle to the other side of the zipper and insert it through the fabric near the corresponding intact tooth.
- Stitch back and forth between the fabric on both sides of the zipper, creating a bridge between the separated teeth.
- Continue stitching up the zipper until you reach the top, ensuring the teeth are properly aligned.
- Tie off the thread securely and trim any excess.
This method can help realign the separated teeth and restore the functionality of the zipper.
Replacing the Zipper
If the zipper teeth are severely damaged or the repair attempts are unsuccessful, replacing the zipper may be the best solution. Follow these steps:
- Measure the length of the damaged zipper to determine the replacement size needed.
- Purchase a replacement zipper that matches the length, style, and color of the original zipper. You can find replacement zippers at sewing or craft stores.
- Use a seam ripper or small scissors to carefully remove the stitching holding the old zipper in place.
- Align the replacement zipper with the opening where the old zipper was removed.
- Pin or baste the replacement zipper in place, ensuring the teeth are properly aligned and the fabric is secure.
- Sew the replacement zipper onto the backpack using a sewing machine or by hand stitching. Make sure to sew along the original stitch lines for a neat and secure attachment.
- Test the new zipper by opening and closing it to ensure smooth operation.
Replacing the zipper provides a reliable solution when the teeth separation cannot be adequately repaired.
8. Replacing a Broken Zipper Pull Tab
When the pull tab of a zipper breaks off, it can be inconvenient to open and close the zipper. Fortunately, there are a couple of methods you can use to replace a broken zipper pull tab:
Using a Paperclip or Keyring
One simple and quick way to replace a broken zipper pull tab is by using a paperclip or keyring. Here’s how:
- Find a sturdy paperclip or a small keyring that is thin enough to fit through the hole on the zipper slider.
- Straighten out the paperclip or open the keyring.
- Insert one end of the paperclip or the keyring through the hole on the zipper slider, making sure it goes through both sides of the hole.
- Fold the paperclip or close the keyring to create a loop or handle that can be used as the new pull tab.
- Test the new pull tab by gently pulling it to open and close the zipper.
Using a paperclip or keyring as a replacement pull tab is a temporary solution that can help you continue using the zipper until a more permanent fix is applied.
Sewing on a New Pull Tab
For a more permanent solution, you can sew on a new pull tab using a fabric or a durable material. Follow these steps:
- Choose a suitable replacement material for the pull tab, such as a small piece of fabric, ribbon, or a leather strip.
- Cut the replacement material into a rectangular or desired shape, ensuring it is long enough to be comfortably held as a pull tab.
- Fold one end of the replacement material over to create a loop or a handle.
- Position the looped end of the replacement material at the end of the zipper slider where the old pull tab was attached.
- Sew the looped end securely to the zipper slider using a needle and thread. Make sure to create tight stitches for a strong attachment.
- Test the new pull tab by pulling it gently to open and close the zipper.
Sewing on a new pull tab provides a more durable and customized solution to replace the broken one.
9. Tips for Preventing Zipper Issues – fix a broken zipper on a backpack
Preventing zipper issues can save you from the frustration of dealing with a malfunctioning zipper on your backpack. Here are some helpful tips to keep your zippers in good working condition:
Avoid overstuffing
Resist the temptation to overfill your backpack beyond its capacity. Overstuffing can put excessive strain on the zipper, leading to misalignment or breakage. Pack your backpack with care, distributing the weight evenly.
Check for obstructions
Before attempting to close the zipper, ensure there are no obstructions such as fabric, strings, or other items caught in the teeth. Clear away any debris or obstacles to allow smooth movement of the zipper.
Handle with care
Treat your backpack’s zippers gently. Avoid yanking or pulling on them forcefully, as this can cause stress on the teeth or the slider. Instead, use a smooth and steady motion when opening and closing the zipper.
Keep it clean
Regularly clean your backpack and its zippers to remove dirt, dust, and debris. Use a soft brush or cloth to gently wipe the zipper teeth and slider. If necessary, you can use a mild detergent or rubbing alcohol to remove stubborn stains or residue.
Lubricate when needed
Apply a small amount of zipper lubricant or wax to keep the zipper moving smoothly. This can help prevent friction and reduce the chances of teeth misalignment. Be sure to use a lubricant specifically designed for zippers.
Repair minor issues promptly
If you notice any minor zipper issues, such as a loose thread or a slightly misaligned tooth, address them promptly. Use a needle and thread to fix loose threads or gently realign misaligned teeth with your fingers or pliers. Taking care of small problems early can prevent them from escalating into more significant zipper issues.
Store properly
When not in use, store your backpack in a dry and clean environment. Avoid leaving it exposed to extreme temperatures, direct sunlight, or moisture, as these conditions can weaken the zipper’s integrity over time.
By following these preventive measures, you can extend the lifespan of your backpack’s zippers and minimize the likelihood of zipper-related problems.
Conclusion – how to fix a broken zipper on a backpack
Fixing a broken zipper on a backpack is a practical skill that can save you from the hassle of dealing with a malfunctioning zipper. By following the steps outlined in this article (how to fix a broken zipper on a backpack), you can address various zipper issues, such as jammed zippers, misaligned teeth, slider problems, and broken pull tabs. Whether you opt for simple techniques like using a pencil or lubricant, or more involved methods like realigning teeth or replacing components, the goal is to restore the functionality of your backpack’s zipper.
Remember to handle zippers with care, keep them clean, and address minor issues promptly to prevent further damage. By employing these techniques and implementing preventive measures, you can enjoy a smoothly functioning zipper that ensures easy access to your backpack’s contents. So the next time you encounter a broken zipper, don’t panic – armed with the knowledge gained from this article, you can confidently fix it yourself and continue using your backpack without interruption.

